


The Process
The Process

Design Process
I used the Double Diamond research methodology, which includes points of divergent and convergent thinking. During the first half of this process, I gathered research and affinitized it into organized categories and insights.
Desktop & Field Research
Desktop & Field Research
Desktop Research
I decided to immerse myself in the industry and focus on learning its design language and vocabulary.
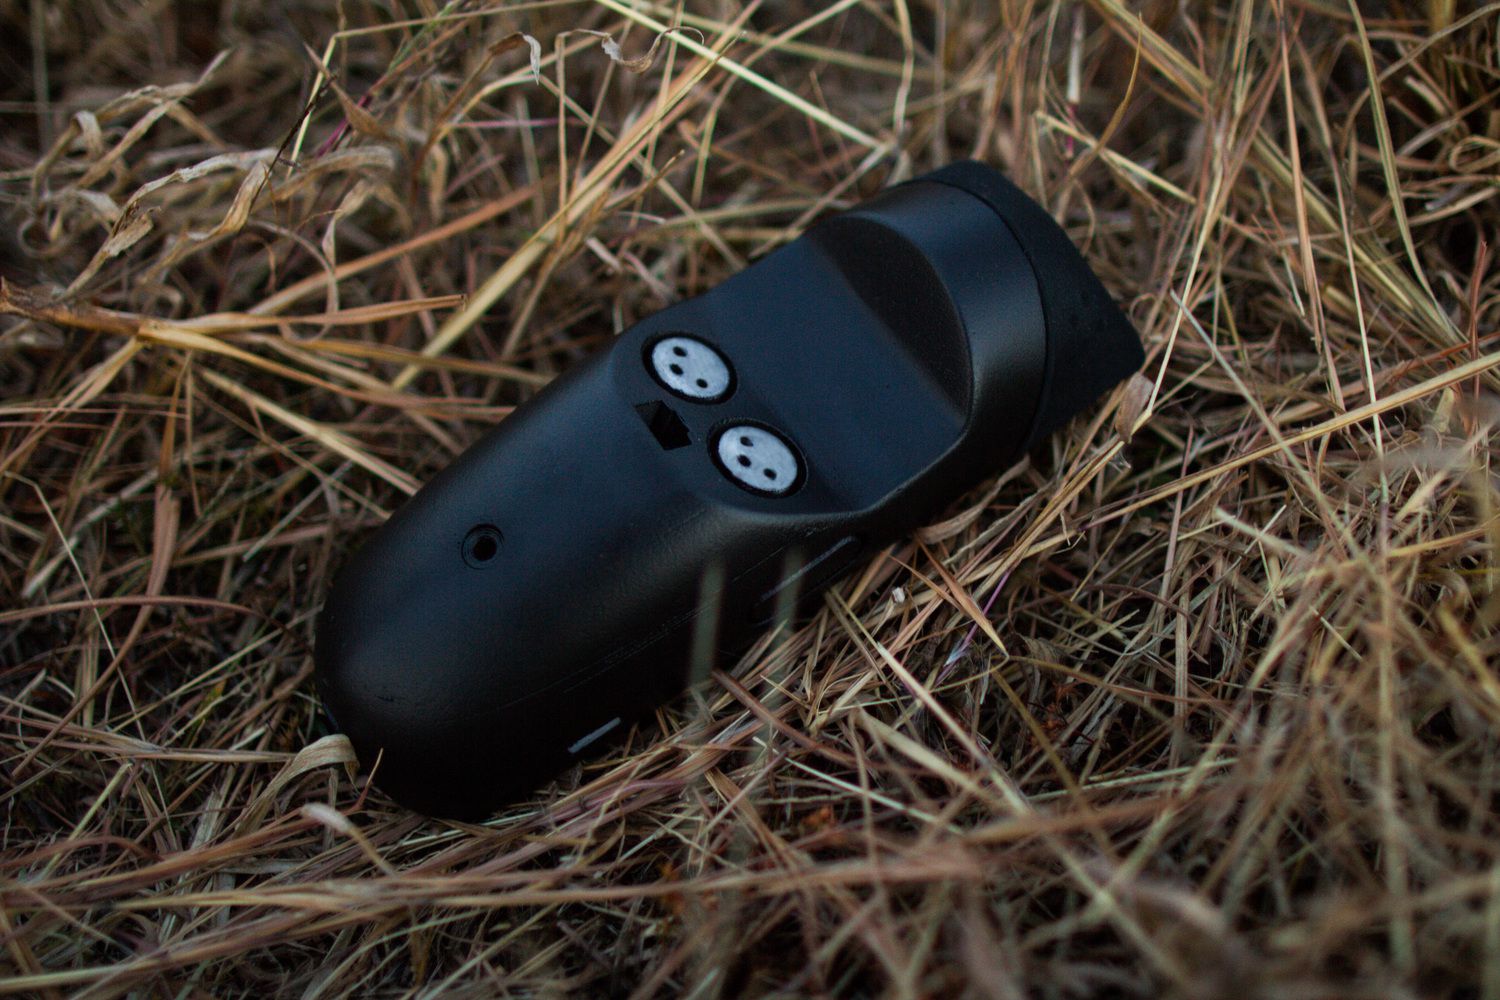
Device Exploration
To understand the market of portable field recorders, I did desktop research. This included trends in form, interface, and device specifications. During this stage I also explored blogs and gained a broad knowledge of sound designers preferred brands, specifications, and their formal and informal vocabulary.
Field Research
I immersed myself into the life of the user, in order to observe their behavior and experiences. The four methods I used were: Active and Passive Observations, Interviews, and Surveys.
Active Observations
I observed sound designers recording live sound from film sets, and recording sound effects in the field. I collected this data by taking notes, pictures, and gathering first person video footage. I asked questions along the way about their interactions with the equipment and the people around them.
Passive Observations
I observed sound designers in the recording studio, recording live sound from film sets, and recording sound effects in the field. I collected this data by taking notes, pictures, and gathering video footage. On some occasions I asked questions after the observation to clarify their reasoning.
Interviews
I spoke with sound design professors, student sound designers, professionals, and a key member of the Audio Engineering Society about their experiences with audio recording and their view points on specific devices.
Surveys
I wrote and conducted surveys to gain more statistical data. This allowed me to see rich view into the behaviors and reasoning of the user. For example, I identified key features they consider when using a recording device.
Customer Journey Map
Below is a journey map that shows the user touch-points throughout the process of recording audio, highlighting specific pain points within this process.
Ergonomics Studies
I decided to do general ergonomic tests on hands. I did this by making models of the two most popular devices on the market and sliced them into different thicknesses. With this study I noticed what dimensions users liked, giving me a rough guideline to design within.

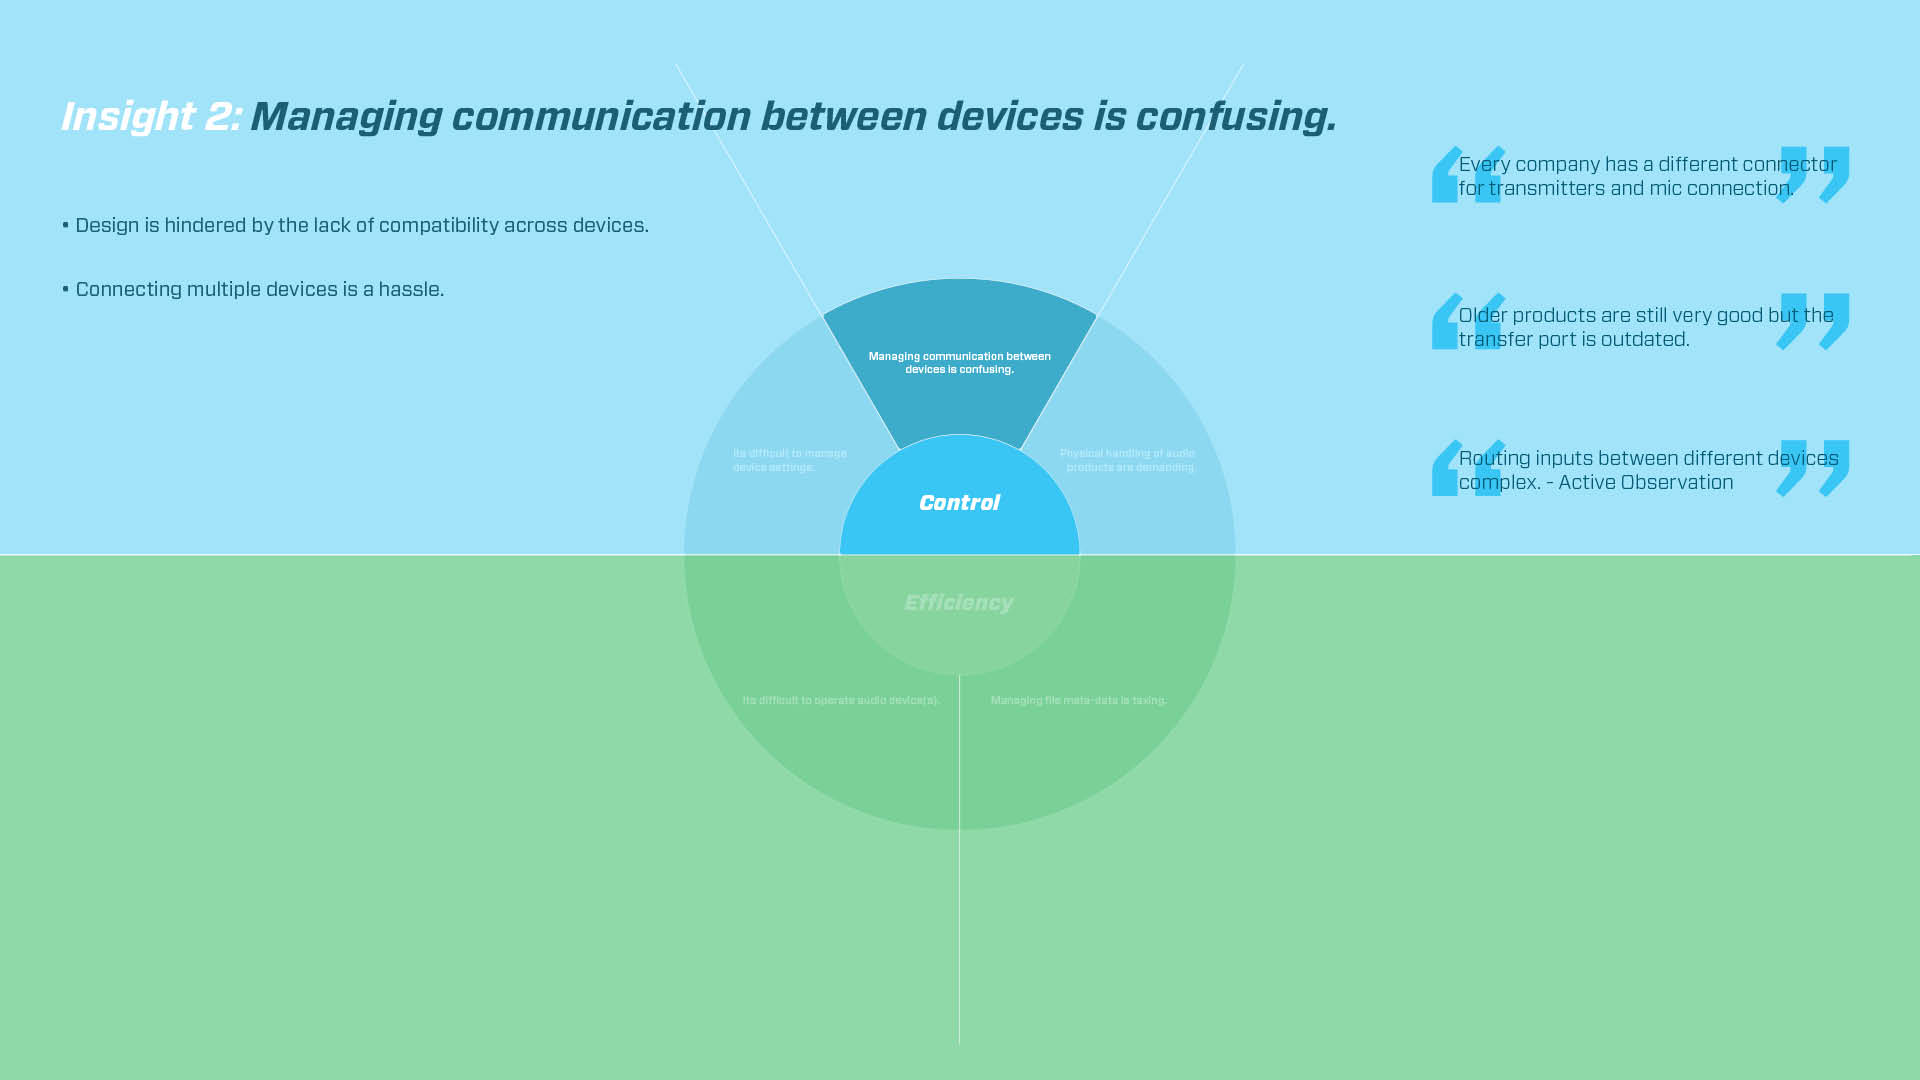
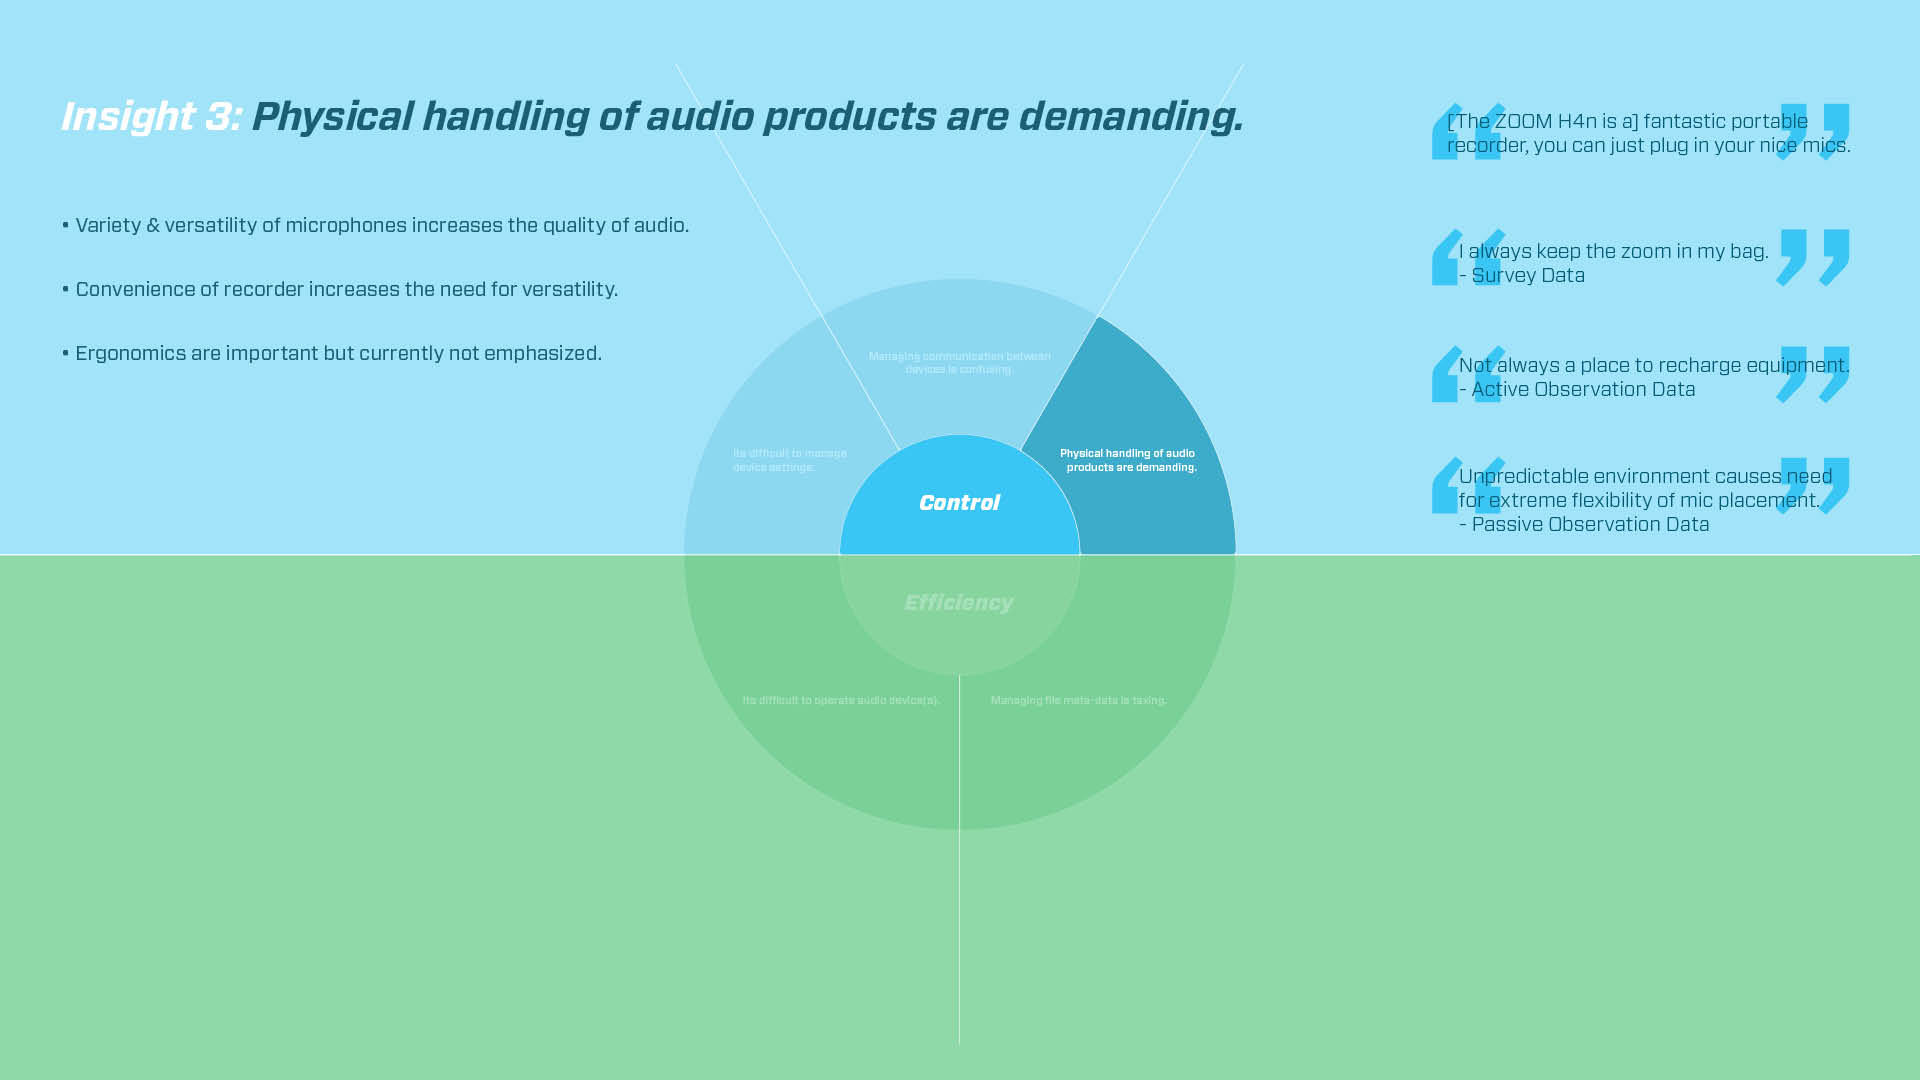
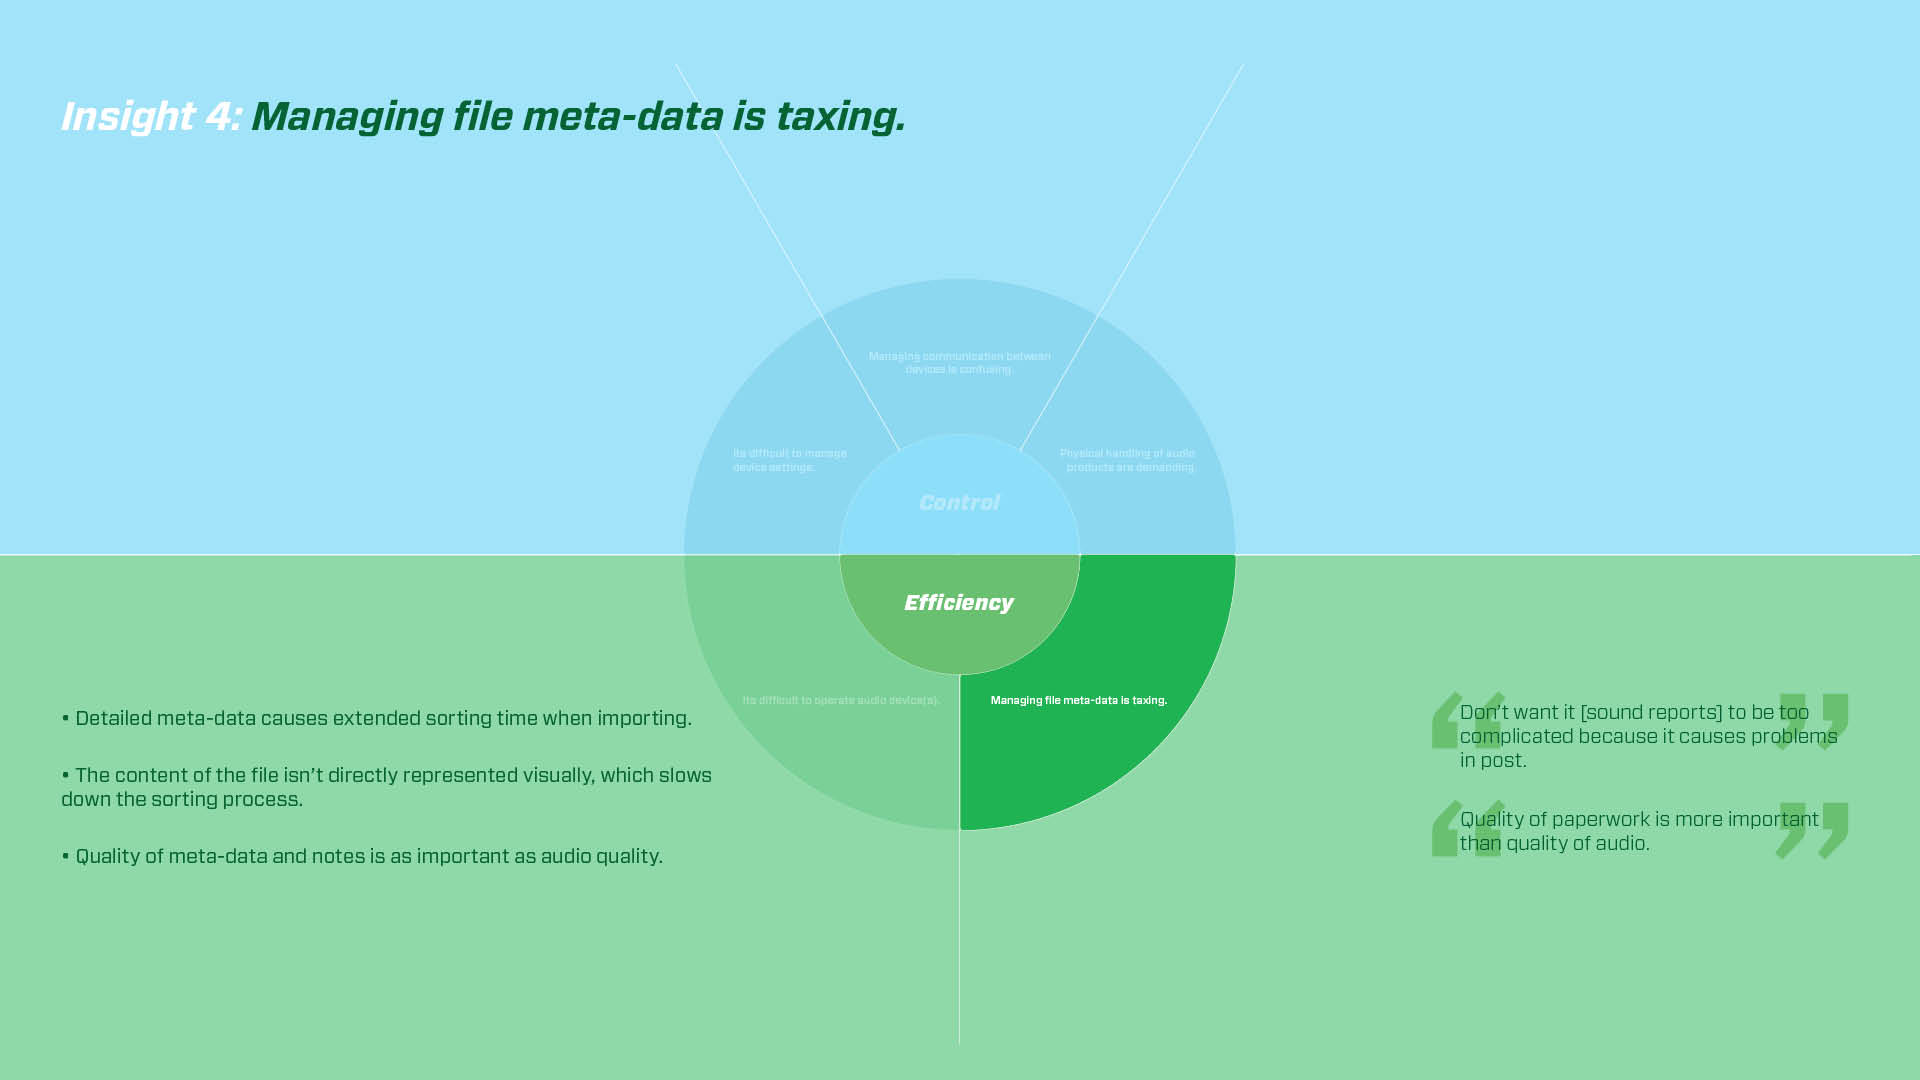
Insights
Insights
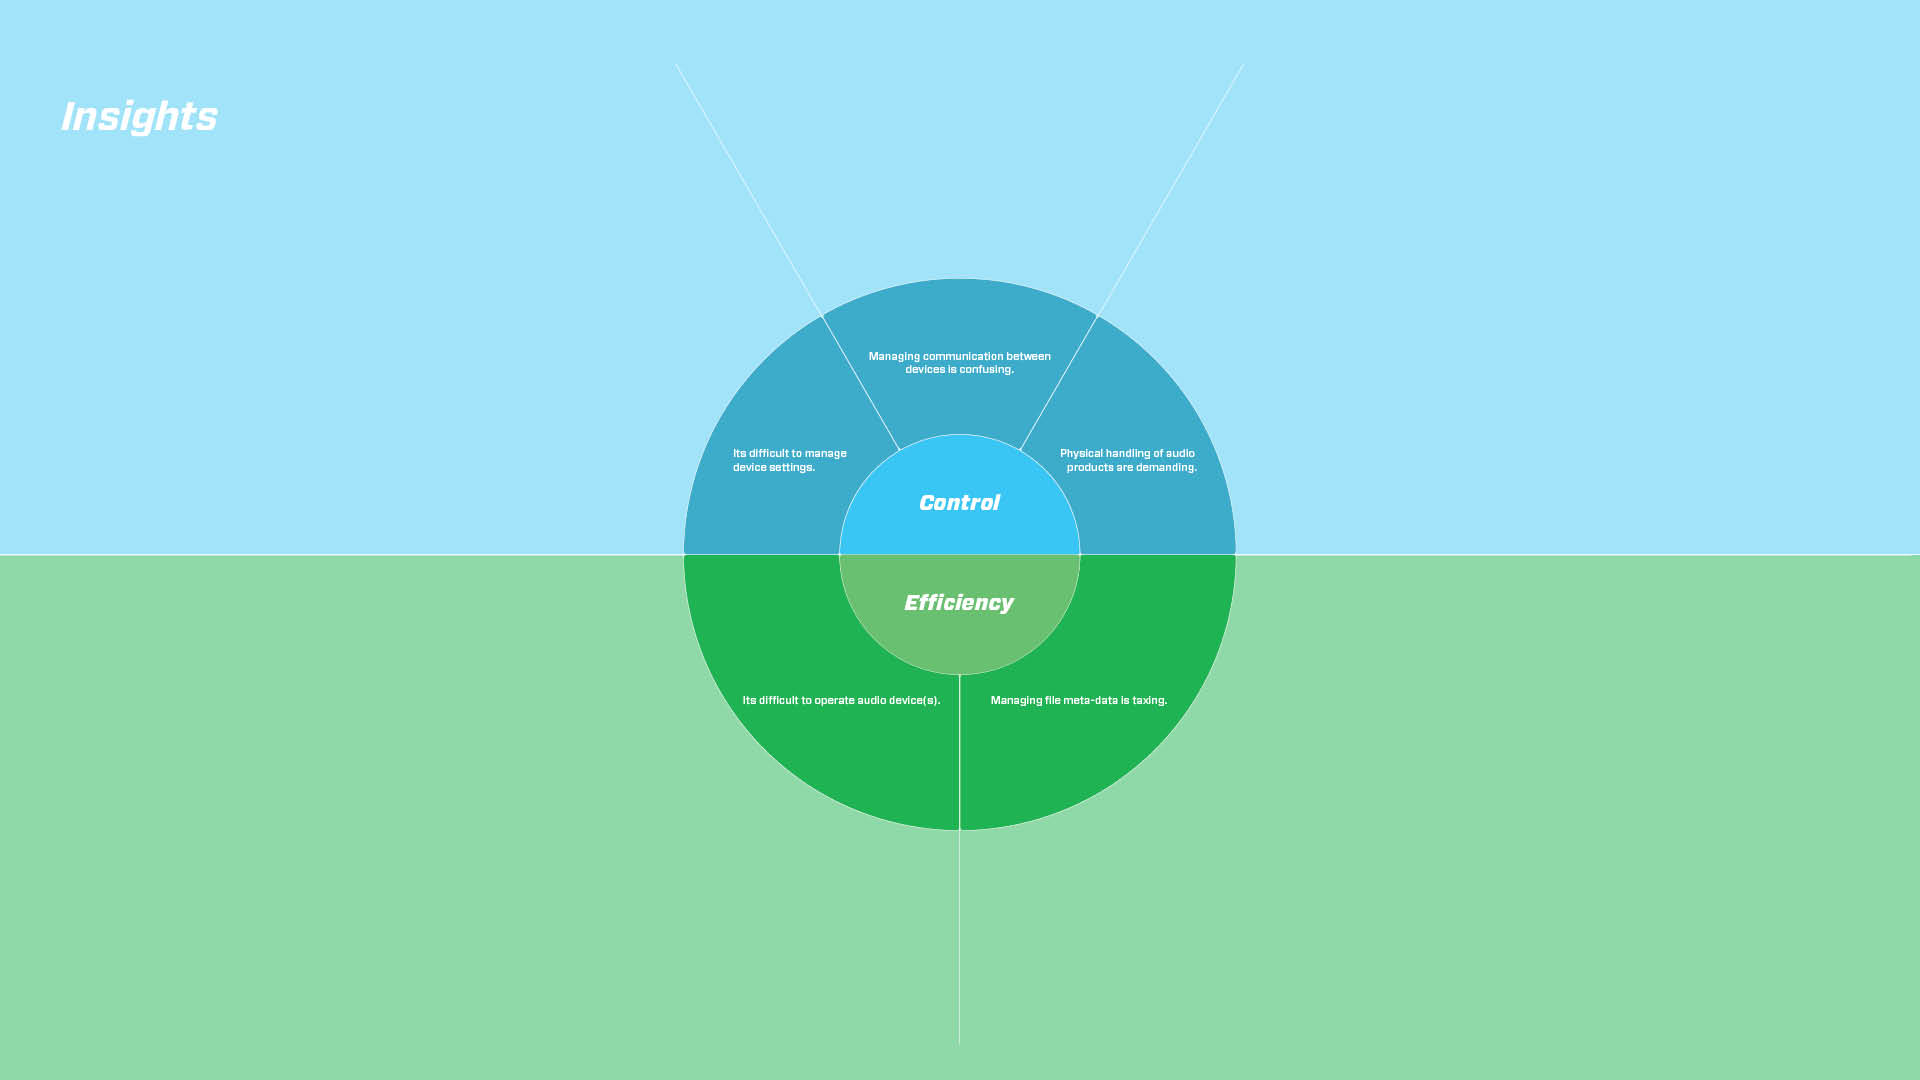
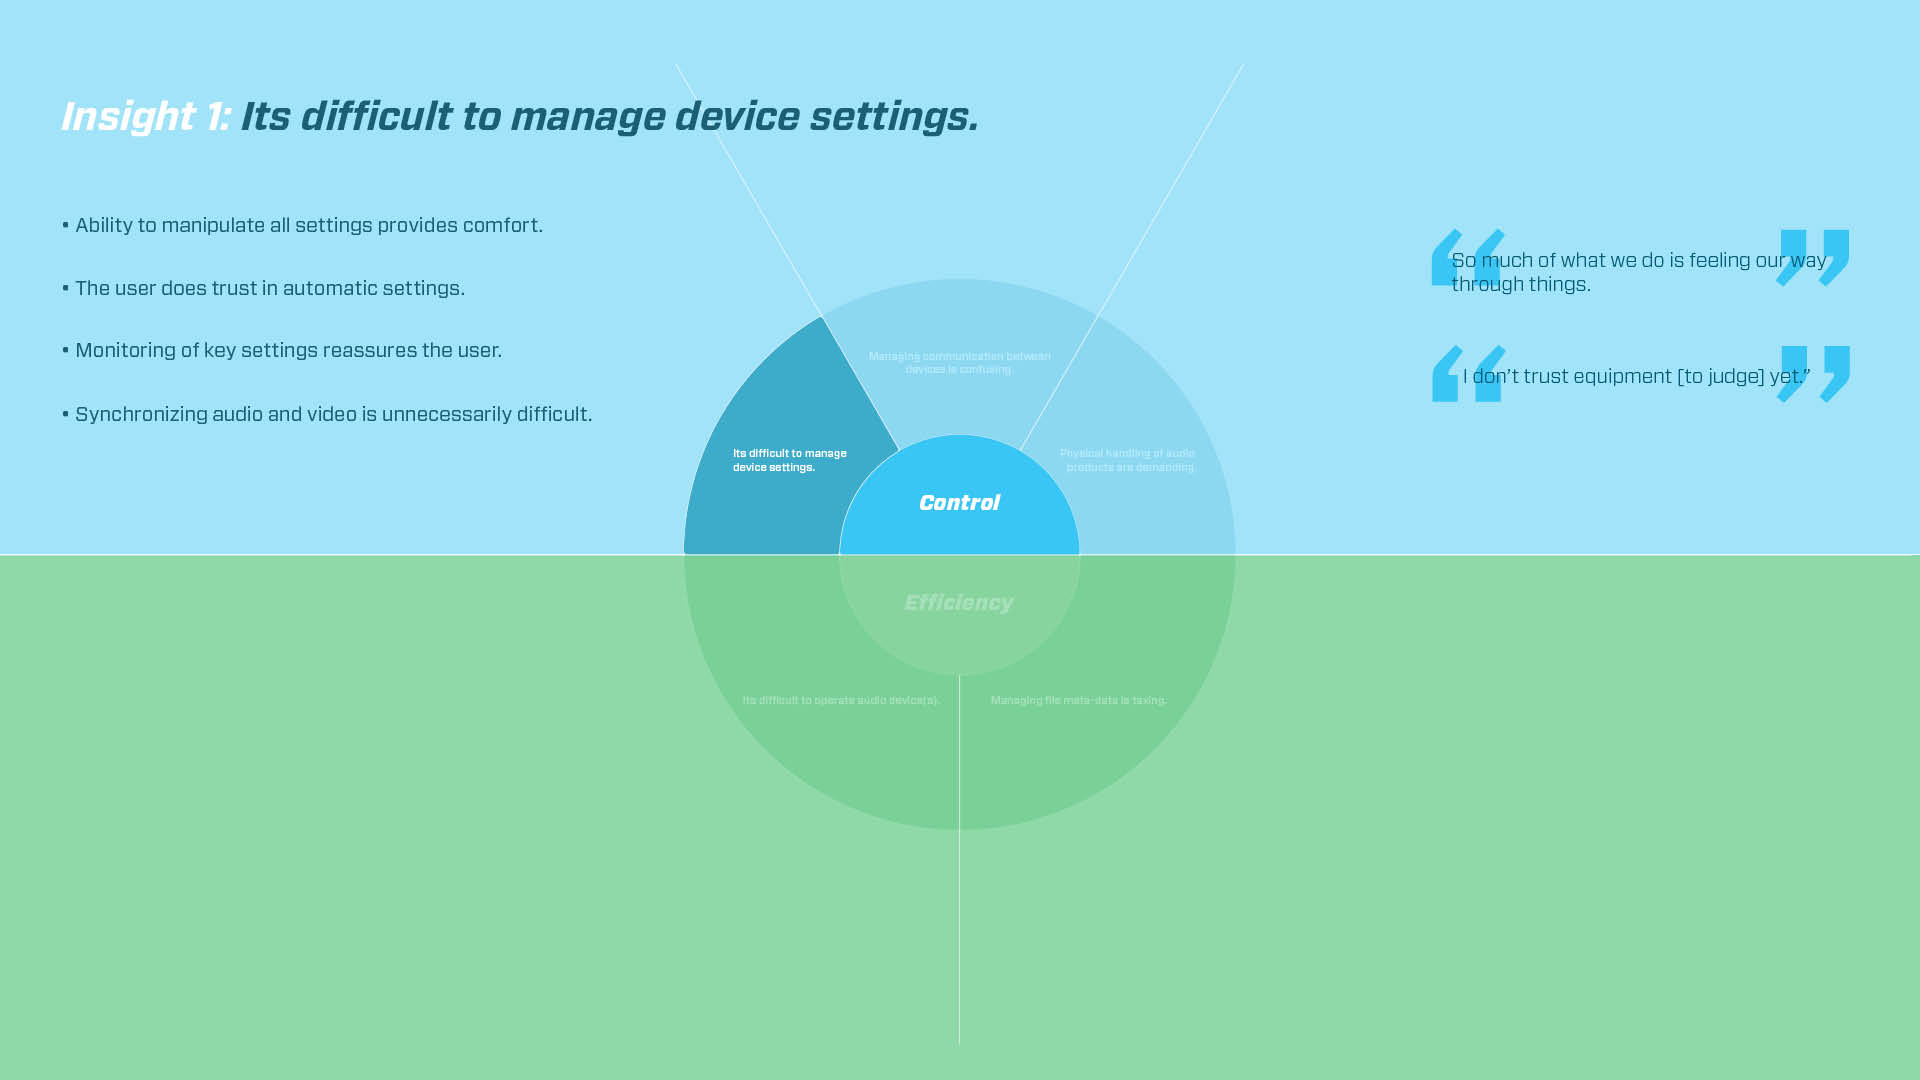
Affinitization Process
I gathered all of my data into categories. From those categories I identified trends. In addition, I created multiple diagrams to help me digest the data and to reference when designing.
Insights


Designer Colin Beney Joins
To assist with the form factor of the product Designer Colin Beney joins the project.
Designer Colin Beney Joins
To assist with the form factor of the product Designer Colin Beney joins the project.
Concept Development
Concept Development
Concept Development
Utilizing key insights we began to develop product and interaction design concepts.
Concept Ideation
During this stage we generated as many ideas as possible both in sketch form and digitally. At this stage any idea is valid.
Sketch Model & Wireframe Creation
After generating ideas and doing general ergonomics test we affinitized our concepts and began creating sketch models and interactive wireframes for user testing.
User Testing
User Testing
User Testing
Using the sketch models and interactive wireframes we conducted usability testing on a variety of users from industry professional to the average consumer.

Designers Beney & Brownhill preparing for user testing over coffee.
Concept Refinement & User Testing
Concept Refinement & User Testing
Concept Refinement & Additional User Testing
Taking the knowledge gained from user testing we discussed and reworked our concepts for another round of user testing.
Finalization
Finalization
3-D Modeling & User Interface Visual Design
After low fidelity prototype user testing we then moved to creating high fidelity protypes. This involved creating & printing 3D models as well as adding visual designs to the final wireframes.
3-D Printed Prototype
Final 3-D Print